Step 1: Create your website

Create a repository that contains all your website files. In this case, it is only an index.html file.
Step 2: Import to Netlify

Prerequisites: you should have a Netlify account (you can sign up using your Github account).
On the main Netlify page, go to
Sites.
Then click on
Add new site
→
Import an existing project.
Step 3: Choose from where to deploy
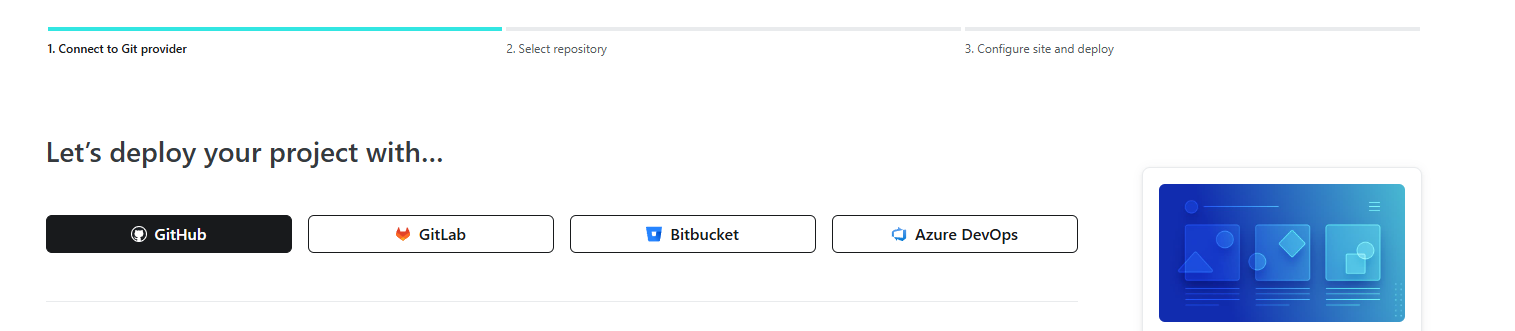
Choose Github.
Step 4: Authorize Netlify
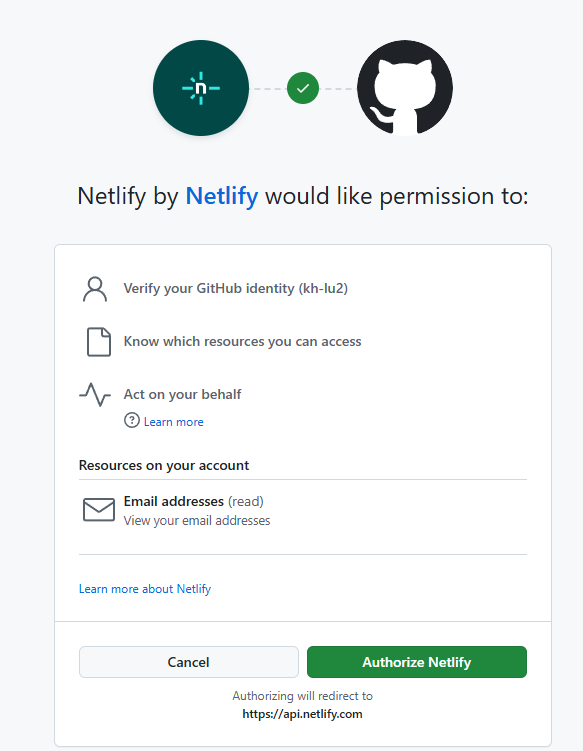
Click Authorize Netlify.
Step 5: Choose your repository
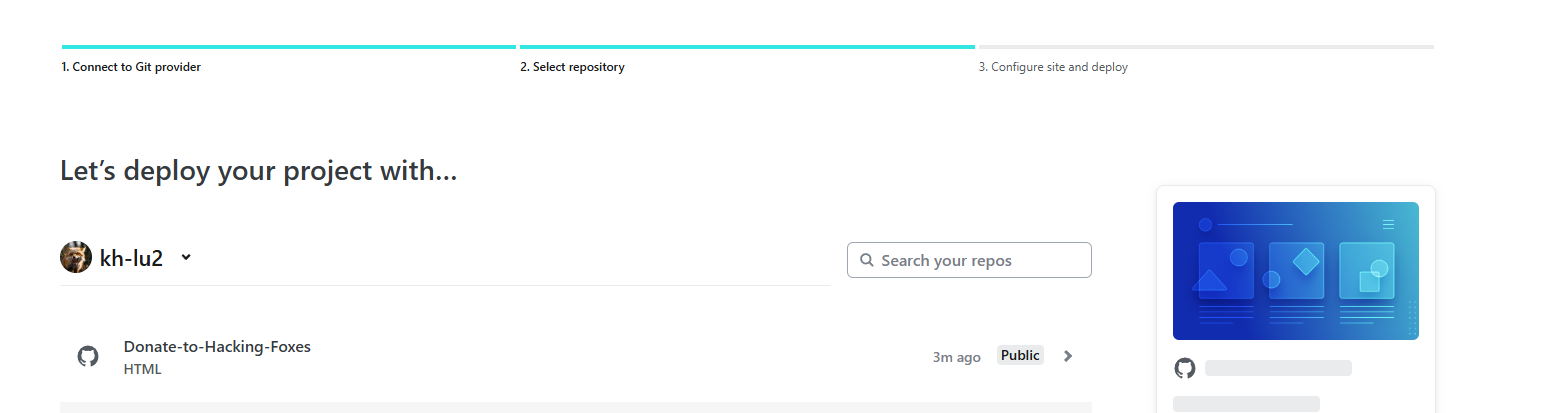
Search through your repositories to find the one you created in Step 1. In this case, it's Donate-To-Hacking-Foxes.
Step 6: Choose team and site name
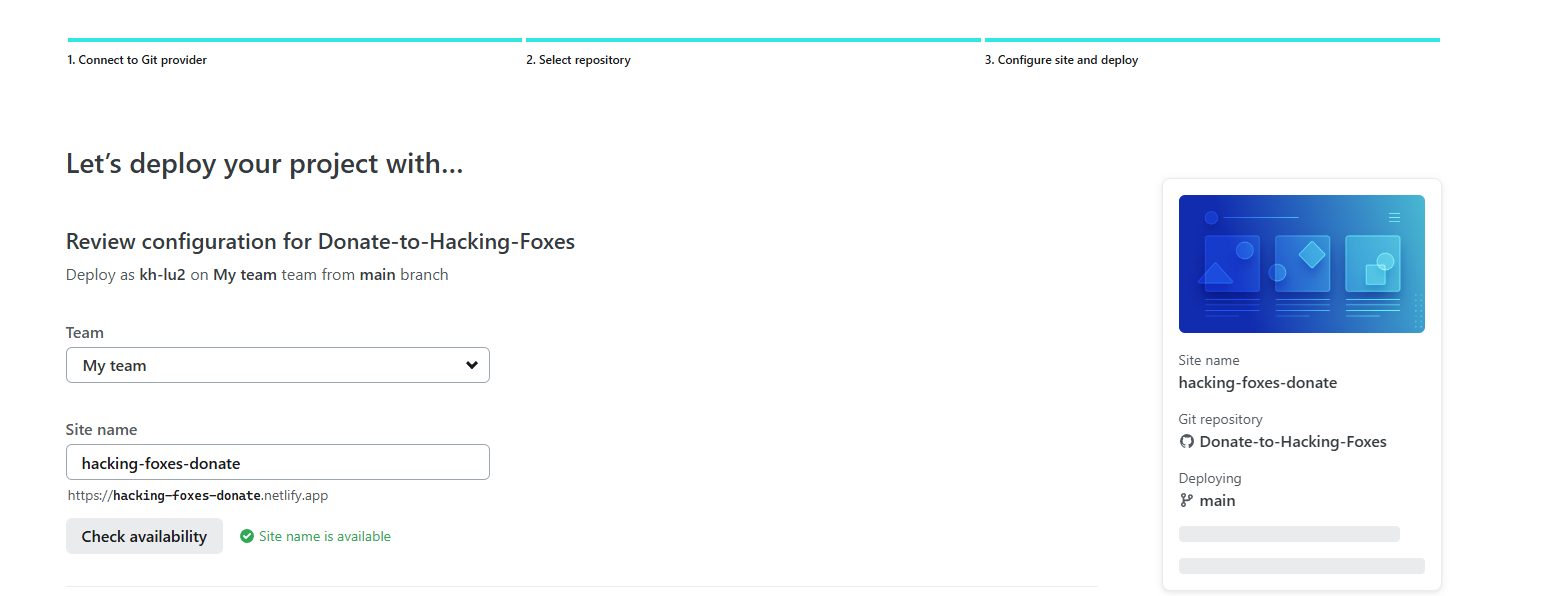
Prerequisites: created team on Netlify.
Choose a team to which you would like to add this website and come up with a great site name. Here it's
My team and
hacking-foxes-donate.
Note: the actual website address is shown below you chosen site name.
Step 7: Additional settings
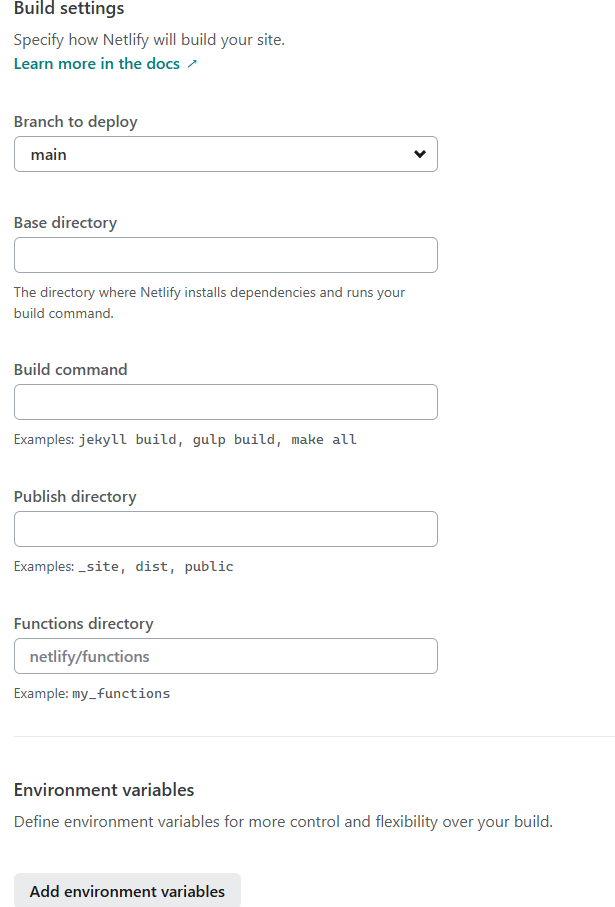
Choose branch from which to deploy and other options if needed. For simple websites, you probably want to leave everything on default.
Step 8: Let's Deploy!

Just click Deploy your-site-name!
Step 9: Wait
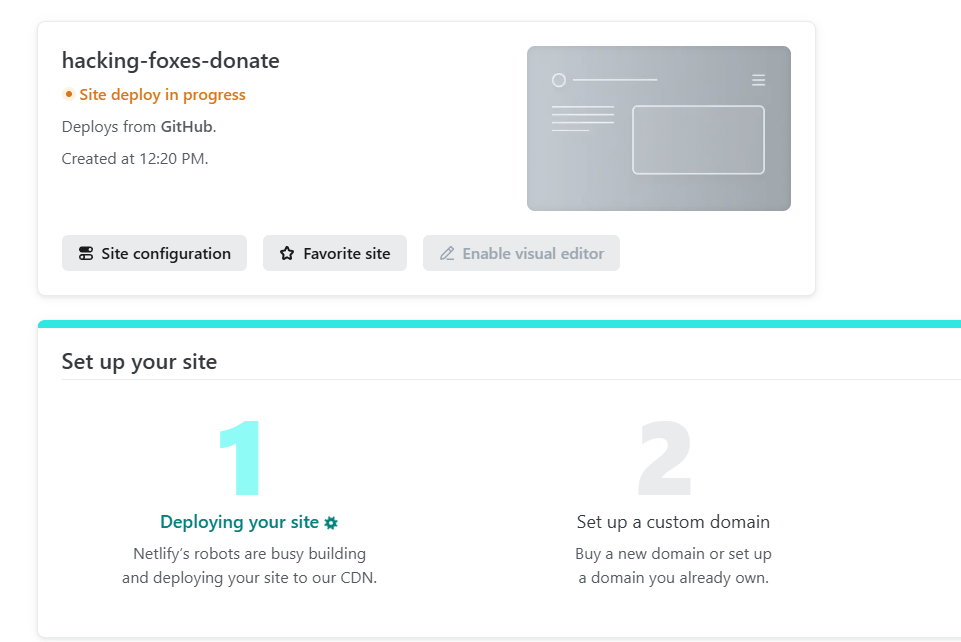
Now you should see that Netlify is working hard to deploy your website. Be patient... it may take a few seconds/minutes.
Step 10: All done!
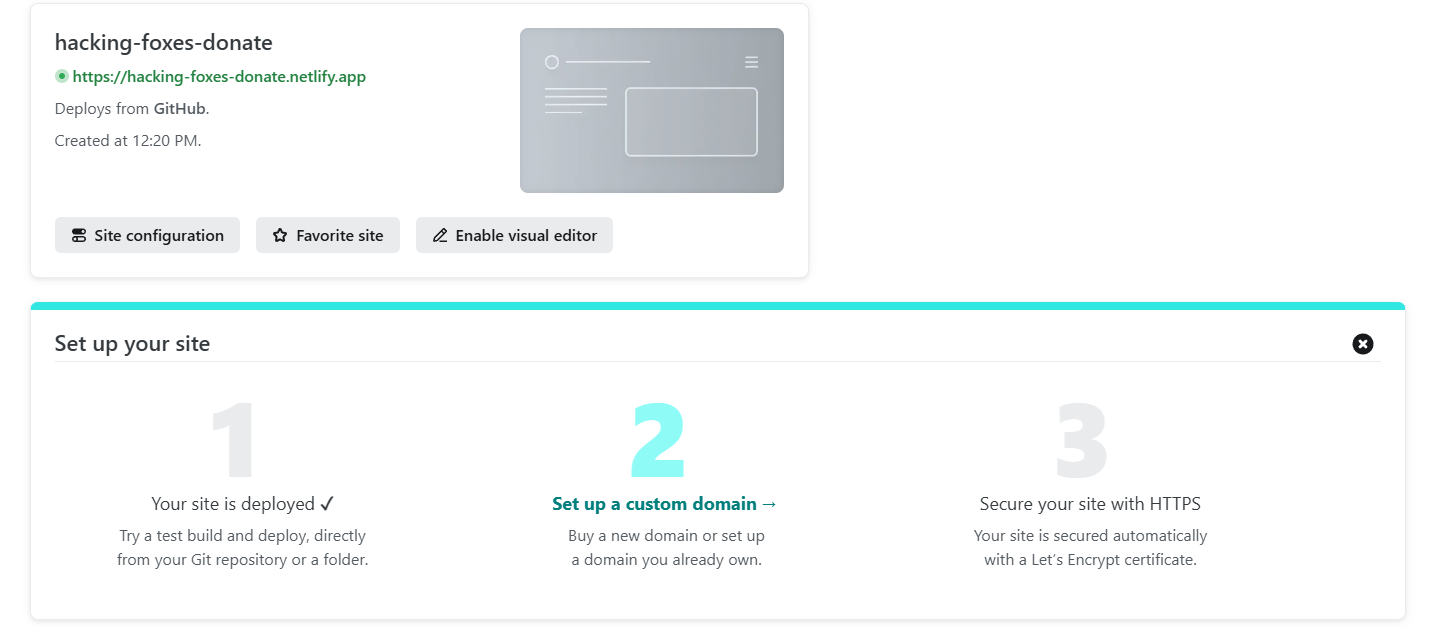
Your website is ready! You can click the link and admire your creation!
You can check out my sample website here:
Hacking Foxes Donate